
Chiseiko Essential Swatches Pro
WooCommerce Brands
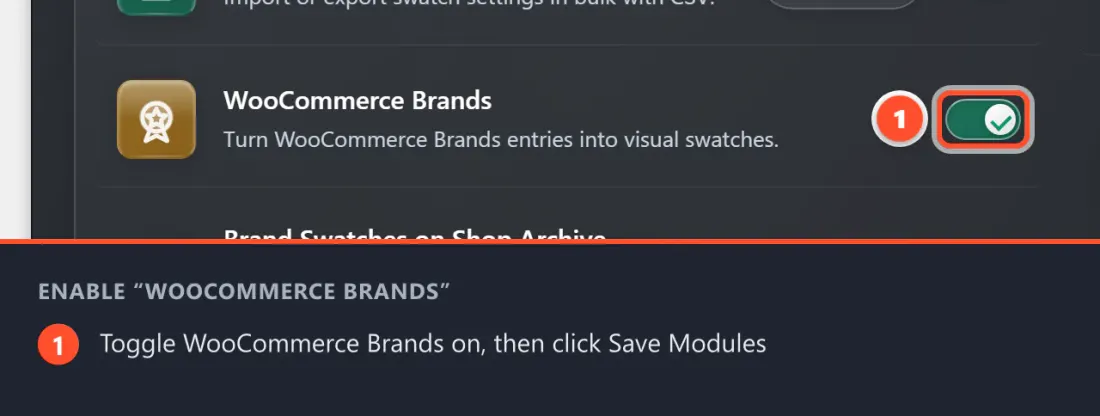
Pro module. Requires Chiseiko Essential Swatches Pro with an active license, plus WooCommerce's Brands feature — which is built into WooCommerce 8.9+ (no separate plugin needed), or available via the legacy WooCommerce Brands extension on older versions. Enable the "WooCommerce Brands" module at WooCommerce → Chiseiko Essential Swatches Pro → Modules.
What Does This Module Do?
If you use the official WooCommerce Brands extension to organise your products by brand, this module lets you add a color or image swatch badge to each brand.
Once configured, the brand swatch appears:
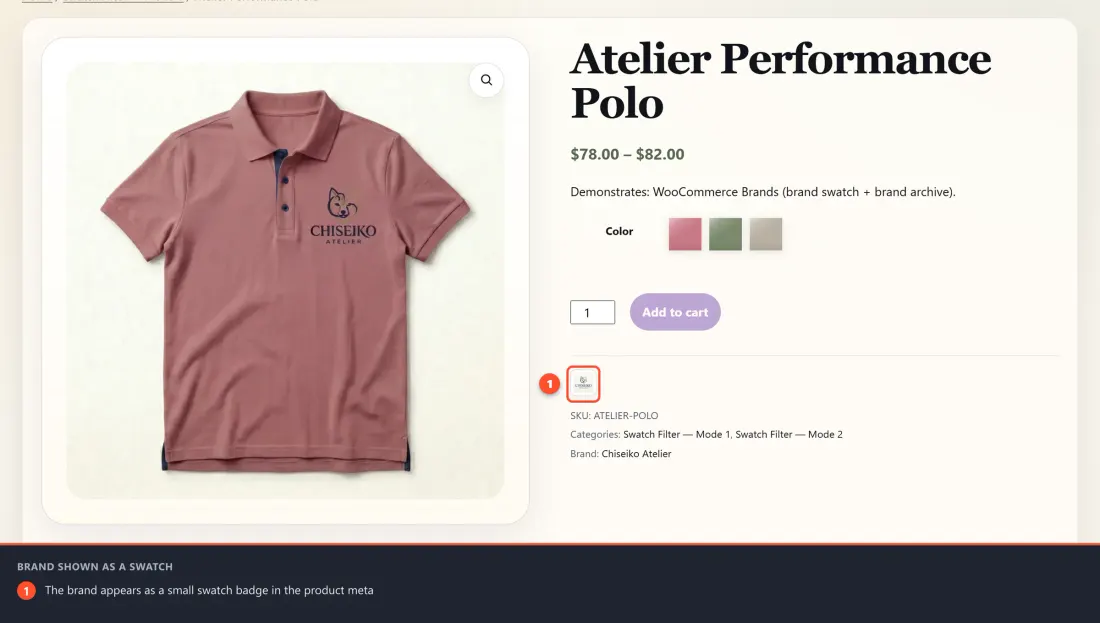
- On single product pages — displayed alongside the product name and meta information (price, SKU, categories), so customers can immediately see which brand they're looking at
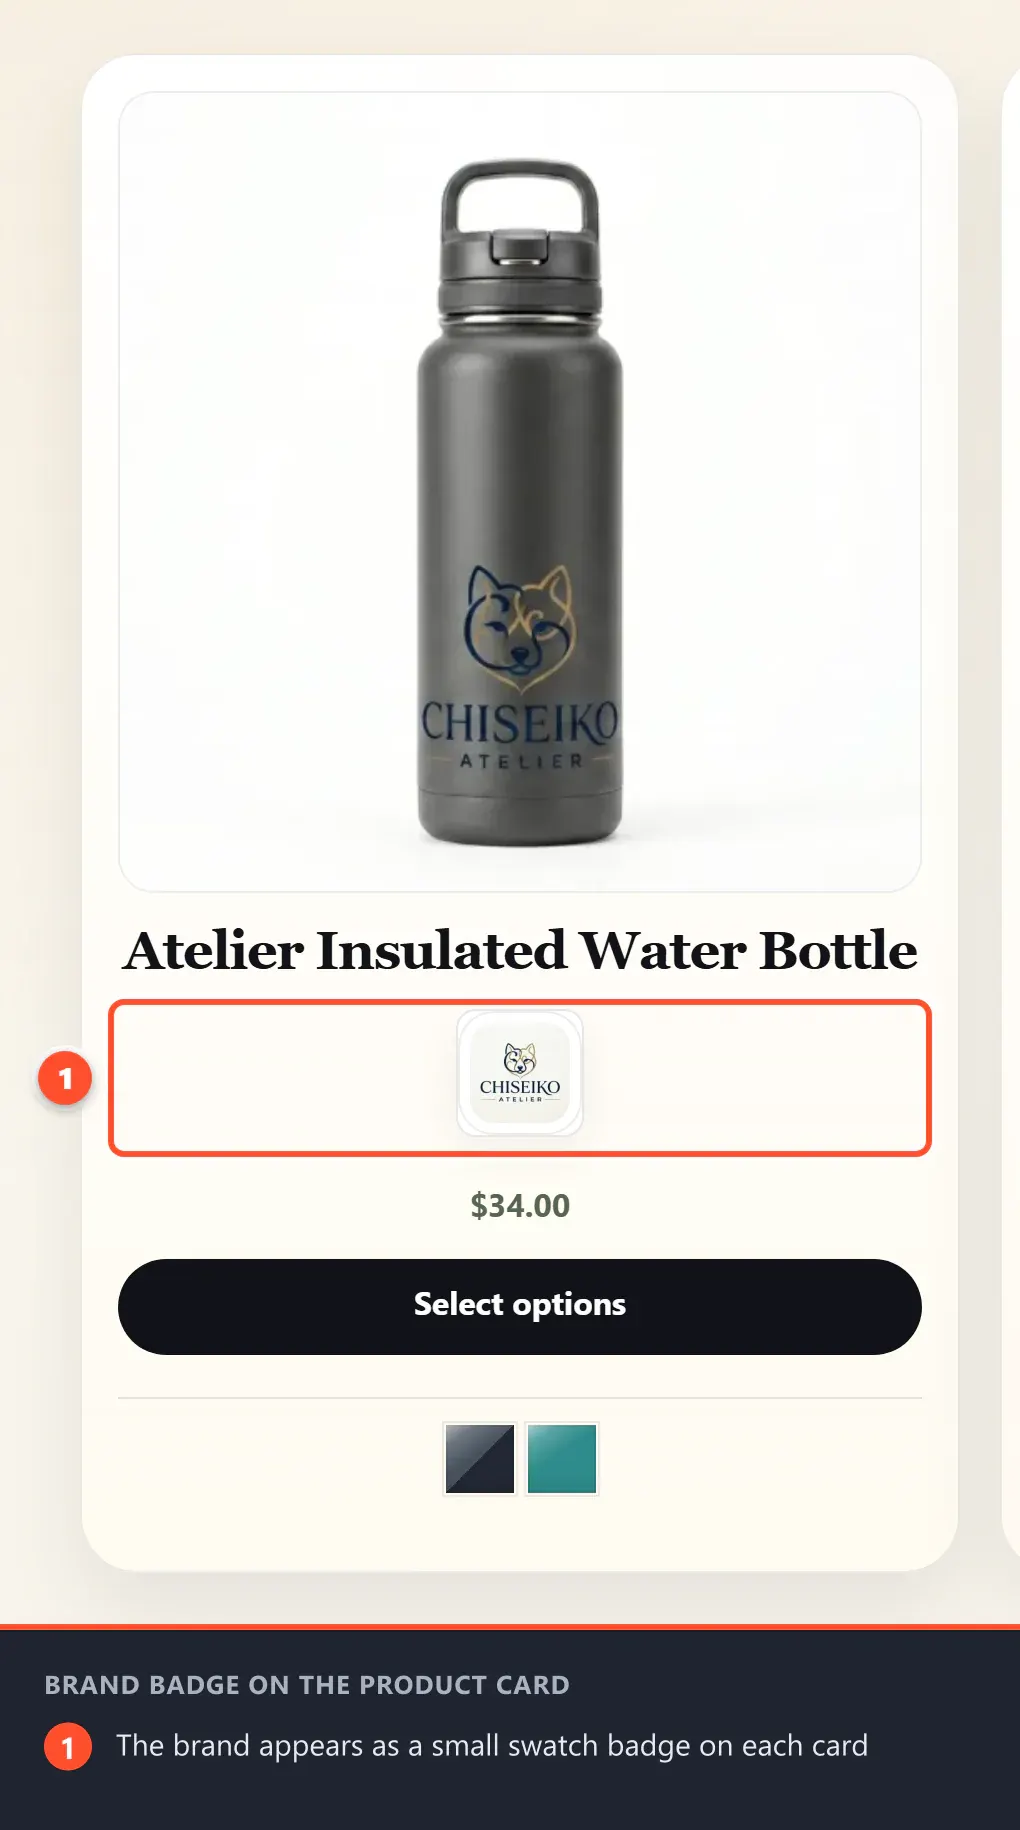
- On shop / category archive cards — shown as a small badge below the product title in the grid
This is especially useful if:
- You sell products from multiple brands and want a visual identifier on every card
- Your brand has a distinctive color or logo that helps customers recognise it instantly
- You want a polished, professional feel where branding is part of the shopping experience
Before You Begin
Make sure all of the following are true:
- WooCommerce's Brands feature is available — it is built into WooCommerce 8.9 or newer (which registers the
product_brandtaxonomy). On older WooCommerce versions, install the separate WooCommerce Brands extension. - Chiseiko Essential Swatches Pro is installed, active, and licensed
- The WooCommerce Brands module is enabled at WooCommerce → Chiseiko Essential Swatches Pro → Modules
If the Brands taxonomy is not available, this module does nothing — it is completely inactive and has no effect on your site.
Setting Up Brand Swatches
Step 1 — Go to Products → Brands
In your WordPress admin menu, go to Products → Brands. You will see your list of brands.
Step 2 — Edit a brand
Click Edit under the brand you want to configure.
Step 3 — Configure the swatch
On the brand edit screen you will see a new Brand Swatch section added by this module. It works the same way as swatch configuration for attribute terms (covered in Chapter 2).
Choose a swatch type:
| Type | What to Do | Best For |
|---|---|---|
| Color | Click the color picker and choose the brand's color (or type the hex code) | Brands with a signature color (e.g., a gold brand color, a distinctive red) |
| Image | Click Select Image and choose or upload the brand logo from your media library | Brands with a recognisable logo |
| None | Leave as-is or select "None" | If you don't want a swatch for this brand |
Step 4 — Save the brand
Click Update at the bottom of the brand edit screen.
Step 5 — Assign the brand to your products
If you have not already done so, open each product and assign it to the brand:
- Open the product in the editor.
- In the right sidebar (or bottom panel), look for the Brands panel.
- Check the box next to the correct brand.
- Click Update on the product.
Once the brand is assigned, the brand swatch appears on the product page automatically. To also show it on shop / category cards, enable the separate Brand Swatches on Shop Archive module (it requires the WooCommerce Brands module) at WooCommerce → Chiseiko Essential Swatches Pro → Modules.
What Customers See
On a Single Product Page
A small swatch badge appears in the product meta area — the same area where the product category, SKU, and tags appear. The badge is compact and sits naturally alongside the other product information.
On the Shop / Archive Grid
Requires the separate Brand Swatches on Shop Archive module (enable it on the Modules tab; it requires the WooCommerce Brands module).
A small swatch badge appears below the product title on each card. If the brand has a color swatch, it shows as a colored circle. If it has an image swatch, it shows as a small logo thumbnail.
Tips
- Use a high-quality square logo for image swatches. The brand image field recommends roughly 64 × 64 px source images; the badge itself renders small, so logos with simple shapes and good contrast work best. A full rectangular banner will be cropped to fit.
- Color swatches work great for brand identity colors. If your brand's color is recognisable (like Tiffany blue, Hermès orange, or your own signature color), a colored circle communicates the brand instantly without needing text.
- You can combine both approaches by configuring some brands with colors and others with images — whichever is clearest for each brand.
- No swatch is fine too. Setting a brand to "None" hides the swatch entirely for that brand. Use this for internal or catch-all brands where a swatch would add clutter rather than value.
Frequently Asked Questions
Q: I don't see the Brand Swatch section when I edit a brand. A: Check these:
- Is WooCommerce's Brands feature available (WooCommerce 8.9+ or the WooCommerce Brands extension)?
- Is the WooCommerce Brands module enabled at WooCommerce → Chiseiko Essential Swatches Pro → Modules?
- Is your Pro license active? All three must be true for the brand swatch fields to appear.
Q: The brand swatch appears on the product page but not in the shop grid (or vice versa). A: Clear all caches (site caching plugin + browser cache) and reload. If it still doesn't appear, check that the product is assigned to the brand. Also confirm the brand swatch type is set to Color or Image — "None" will not display anywhere.
Q: Can I change the size or position of the brand swatch?
A: The brand swatch renders at its own compact badge size. For size or position adjustments, a developer can add CSS rules targeting the .chiseikoessw-brand-swatches class. See your theme's CSS customizer or a custom CSS plugin.
Q: Does the brand swatch support RTL (right-to-left) languages? A: Yes. The brand swatch strip automatically reverses its layout direction on RTL sites (e.g., Arabic, Hebrew).